How to Install Steel Garden Edging in New Zealand: The Complete Step-by-Step Guide

Grace Rowland-Jones • 19 October 2026

Share this article

This is a subtitle for your new post

Installing EverEdge steel garden edging takes five straightforward steps:


  1. Mark Out: Lay a string line for straight runs or a garden hose for sweeping curves.
  2. Score the Turf: Cut a clean 75mm–100mm vertical slit using a flat-edged spade.
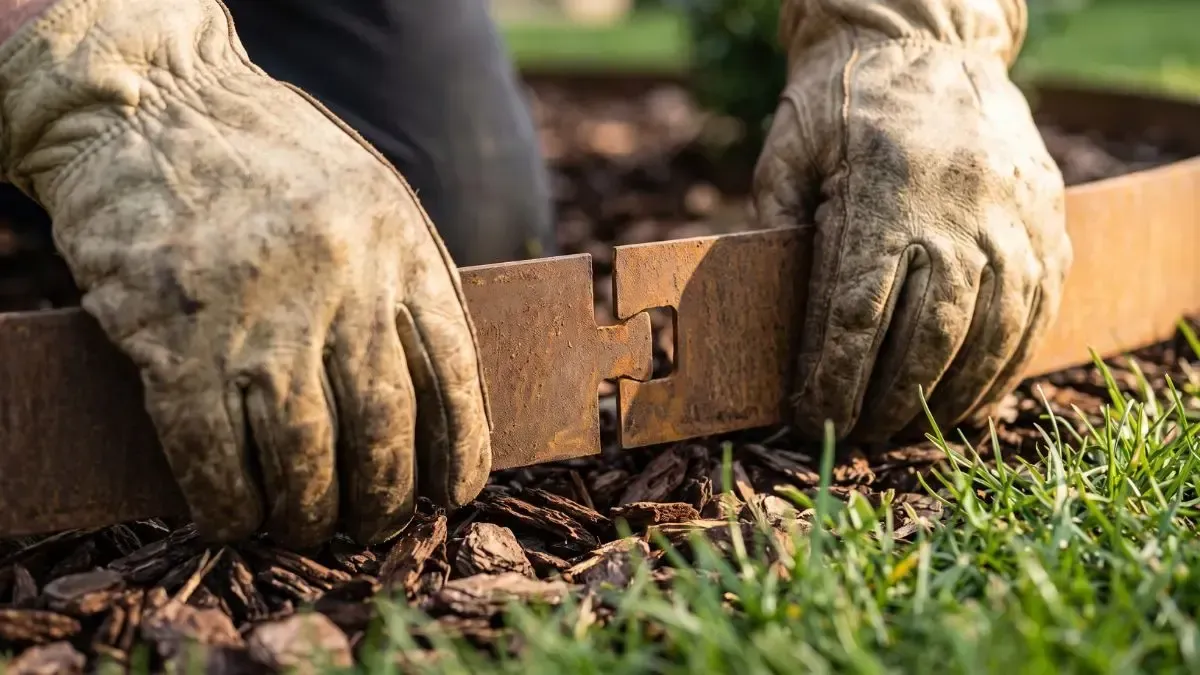
  3. Interlock: Slide the tongue of one strip into the locking slot of the next and secure the tab.
  4. Shape: Flex smooth curves by hand or fold crisp 90-degree angles around a timber offcut.
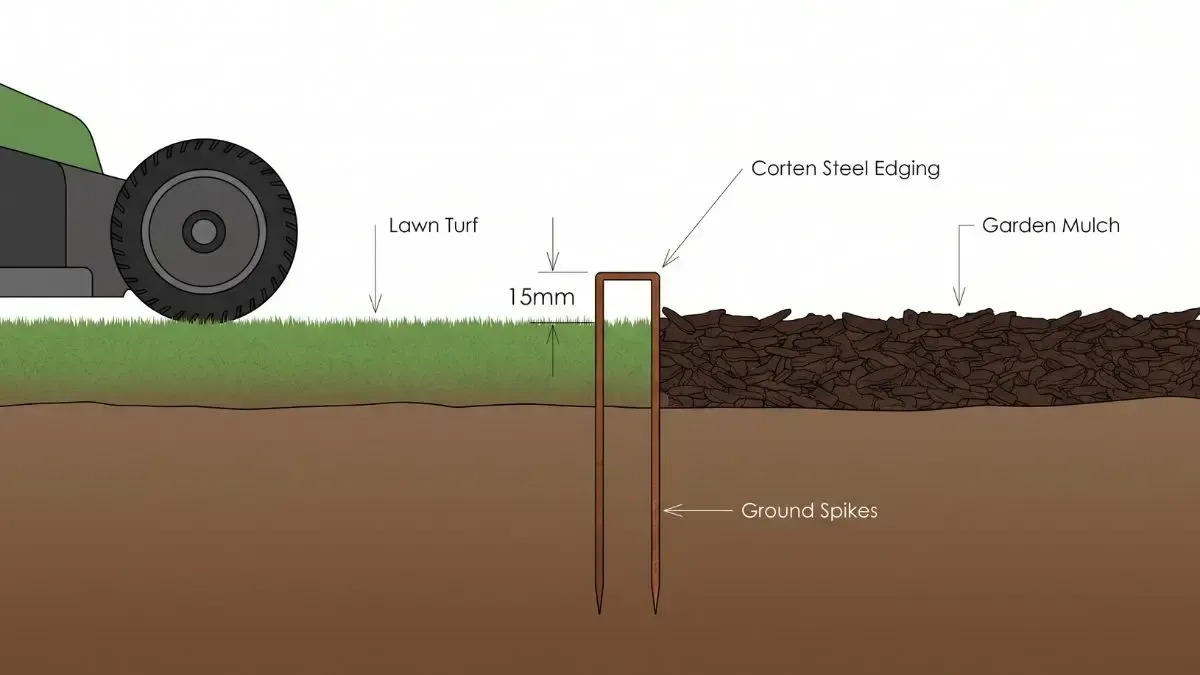
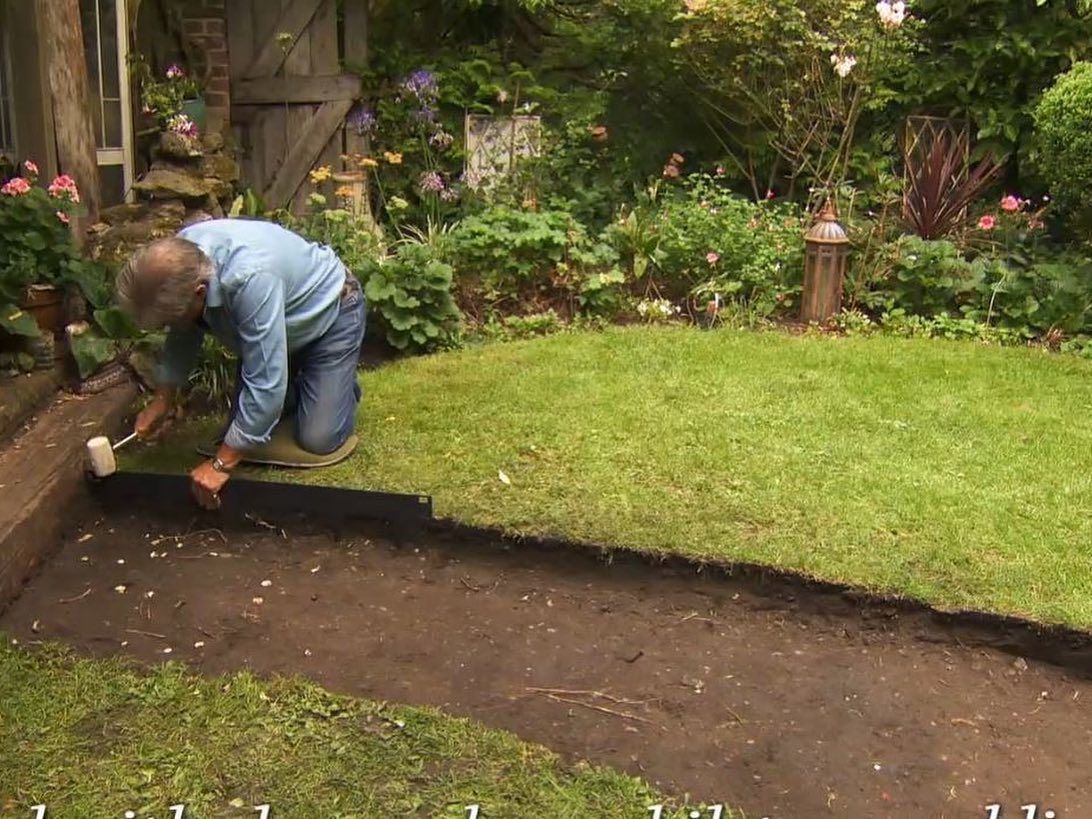
  5. Drive Spikes: Tap the integrated spikes into the soil using a rubber mallet and wooden block until the top edge sits 10mm–15mm proud of the grass crowns for a mower-safe border.


Nothing spoils the look of a well-tended Kiwi garden faster than floppy plastic edging unravelling in the sun, or treated timber benders rotting out after a couple of wet winters.


Flexible steel garden edging gives you crisp, razor-sharp borders that hold their line for decades. Because EverEdge features built-in spikes and an interlocking tongue-and-slot system, putting it in does not require concrete footings, post-hole borers, or an expensive contractor.


Whether you are laying out formal borders in Christchurch, tidying up a lawn edge in Auckland, or containing river stones down in Otago, here is how to install steel garden edging properly the first time.


The Essential Tool Checklist

You do not need a shed full of trade machinery. A few basic garden hand tools will do the job:


  • Flat-Edged Spade or Half-Moon Edger: Essential for slicing a clean, vertical groove into tough turf.


  • Rubber Mallet: Drives the steel into the ground without scratching the powder coating or damaging the top rim.


  • Timber Offcut (Small Block of Wood): Sits over the steel edge to distribute mallet strikes evenly.


  • String Line or Old Garden Hose: A string line keeps straight paths true; a hose is the best tool for designing organic curves.


  • Flat-Head Screwdriver or Pliers: For folding the locking tabs over securely.


  • Sturdy Work Gloves: Protects your hands from sharp stones and soil debris.


Watch the 2-Minute Installation Walkthrough


Watch how the interlocking tongue-and-slot system joins together and taps down into the ground.


Step 1: Marking Out Your Boundary

Steel holds its shape firmly once driven into the ground, so invest an extra ten minutes in getting your line right before picking up a spade.


  • For Dead-Straight Lines: Hammer two wooden pegs into the ground at each end of the run and pull a builder’s string line taut between them.


  • For Organic Curves: Lay an old garden hose along the ground. Step back onto your patio or deck to eyeball the line from where you naturally view the garden. Nudge the hose until the arc flows smoothly into your planting beds.


Step 2: Scoring the Turf in Tough Kiwi Soils

The single biggest installation mistake is trying to hammer steel edging straight into compacted soil. If an integrated spike hits a hidden Canterbury river stone or hard North Island summer clay, you will fight the ground and risk bending the spike.


  1. Take your flat spade and follow your string line or garden hose.
  2. Cut a clean, vertical slit into the turf approximately 75mm to 100mm deep.
  3. Gently lever the spade forward and back to open up a narrow slit trench.
  4. Clear away stray stones, thick weed roots, or couch grass runners from the line.


Local Soil Tip: If your ground is baked rock-hard in the middle of summer, give the trench line a thorough soak with the garden hose the evening before you start. The water softens the soil depth without turning the surface into a slippery mud pit.


Step 3: Interlocking the EverEdge System

EverEdge strips are designed to connect end-to-end along the trench before you drive them fully home:


  1. Place your first strip into the scored trench, leaving it slightly proud of your final intended height.
  2. Take your second strip and slide the tongue through the locking slot of the first strip.
  3. Push it forward until the shoulders sit flush.
  4. Use a flat-head screwdriver or a light tap of the mallet to fold the locking tab over flat. This locks the two lengths together mechanically so lawnmower vibration, frost heave, and foot traffic cannot pull them apart.
  5. Work along the boundary, joining your strips into one continuous, flexible steel backbone.


Step 4: Bending Smooth Curves and Right Angles

Because EverEdge uses architectural-grade mild steel and Cor-Ten weathering steel, it balances structural stiffness with easy malleability.


  • For Sweeping Curves: EverEdge bends easily by hand. Hold the strip firmly with both hands spaced about 300mm apart and apply gentle, progressive thumb pressure along the length. Work your way along the strip to build an even curve rather than kinking the steel in a single spot.

  • For Crisp 90-Degree Corners: Place a solid timber offcut across the face of the strip right at the point where you want the bend. Hold the strip firmly against the ground and pull the exposed length upward against the timber face to form a clean, professional corner.


Step 5: Driving the Spikes to Mower-Safe Height

Once your entire line is joined, shaped, and sitting inside the scored groove, it is time to secure the edging at its permanent depth:


  1. Set Your Mower Clearance: For a lawn-to-garden transition, the top rim of the steel should sit roughly 10mm to 15mm above the soil level—level with the crowns of your grass blades.
  2. Protect the Rim: Never hit the bare top edge of the steel directly with a steel hammer. Always place your timber offcut over the top rim.
  3. Tap Progressively: Strike the timber block with your rubber mallet directly above the integrated spikes. Do not drive one spike all the way down in a single blow; tap each section down 20mm at a time so the entire border settles evenly along the run.
  4. Firm the Soil: Backfill garden soil or compost on the garden side, and firmly heel the turf against the lawn side to lock the spikes into place.


Frequently Asked Questions


Can I Cut EverEdge Strips to Fit an Exact Length?

Yes. If you reach the end of a run and have excess steel, measure the remaining distance and cut the strip to length using a standard hacksaw or an angle grinder fitted with a thin metal cut-off disc. If you are using powder-coated Classic steel, dab a small touch of metal primer or exterior paint over the cut edge to seal the raw steel against surface moisture.


How Do I Deal with Hidden Boulders or Concrete Slurry?

If a 75mm spike strikes an immovable rock beneath the turf, do not try to bash it through with a heavy sledgehammer. Simply use a crowbar or flat chisel to lever the stone out of the slit trench. Alternatively, unhook the strip and shift the join slightly to reposition the spike.


When Will Cor-Ten Steel Start Weathering?

Cor-Ten edging arrives in its raw, dark charcoal state. Once installed outside and exposed to New Zealand rain, humidity, and coastal air, it begins oxidising within two to three weeks. Over 6 to 12 months, it develops its signature warm, velvety amber-brown patina, forming a protective barrier that arrests deeper corrosion.


Will the Edging Move During Winter Frosts?

No. Because EverEdge uses 75mm integrated spikes that are part of the steel strip itself—rather than loose pins or friction clips—the edging stays anchored in place through ground heave, winter frosts, and daily lawnmower vibration.


Order Authentic Steel Garden Edging for Your Project

EverEdge is engineered in Britain, stocked locally in Christchurch, and shipped directly to residential driveways and trade sites right across New Zealand.


Need trade pricing for a commercial project or advice on measuring your metres? Send our Christchurch team an enquiry and we will get back to you within one business day.

Recent Posts

Modern house with a curved gravel driveway, green lawn, and mountain view at sunset
17 September 2026
Deciding between concrete and steel garden edging? Compare installation effort, ground movement cracking, and long-term costs in NZ.
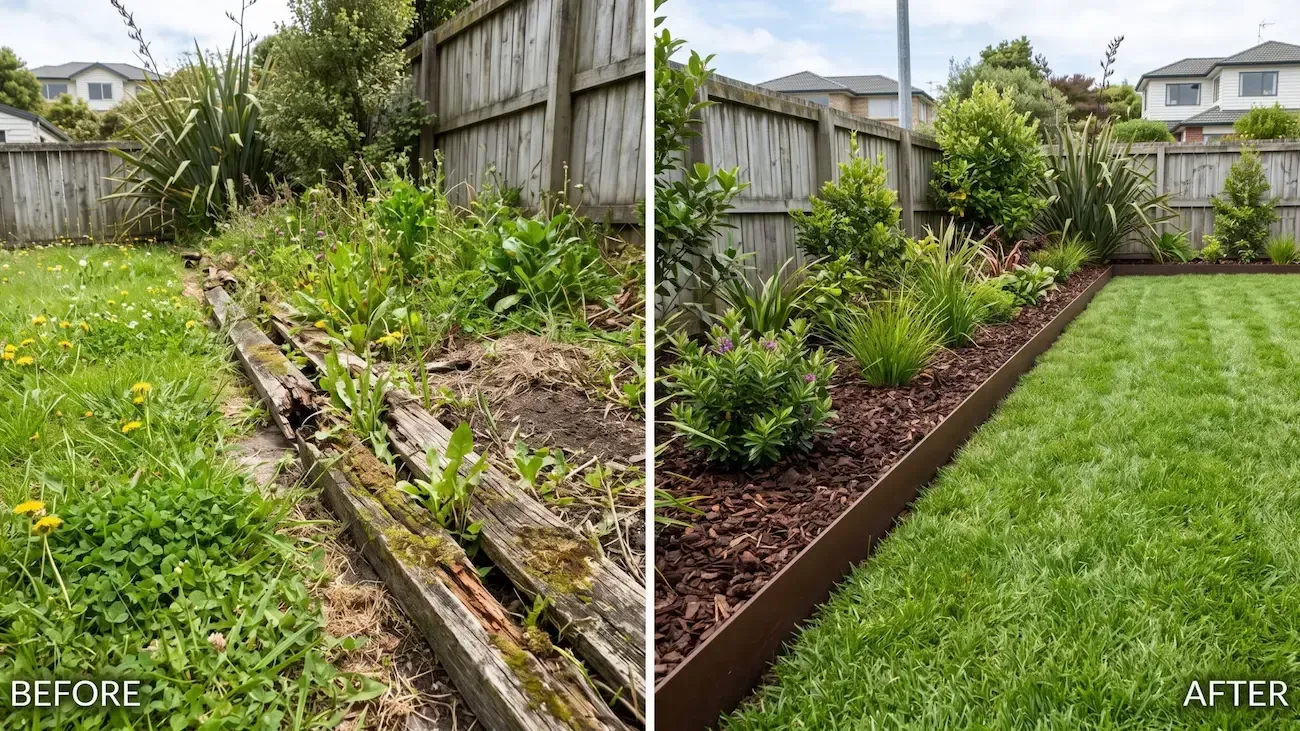
Before-and-after backyard: overgrown garden transformed into neat, mulched planting beds and lawn.
14 September 2026
Compare timber and steel garden edging for NZ backyards. Discover differences in rot resistance, installation effort, and long-term value.
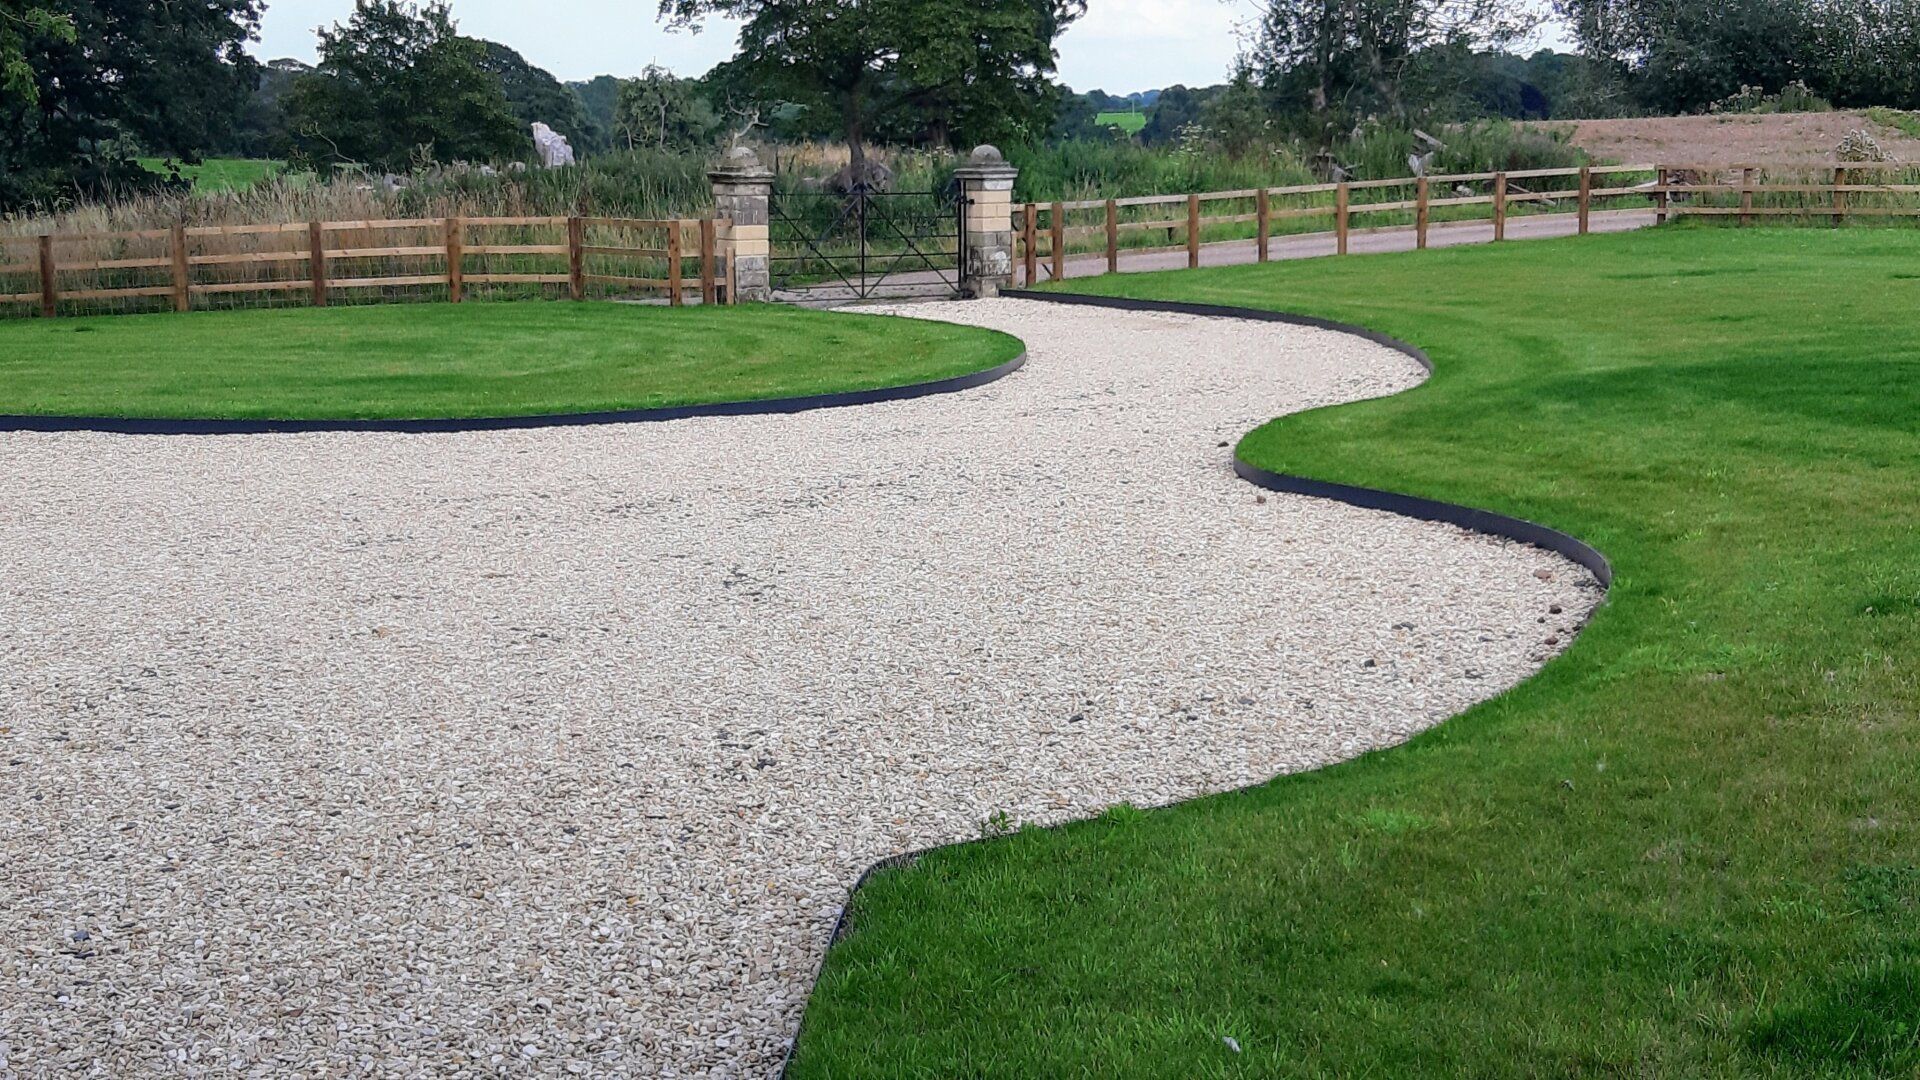
Curved gravel path through green lawn, leading to a fenced garden gate under cloudy sky.
27 July 2026
Everything you need to know about metal landscape edging in NZ. Compare galvanised, powder-coated, and Corten steel options. Shop online.
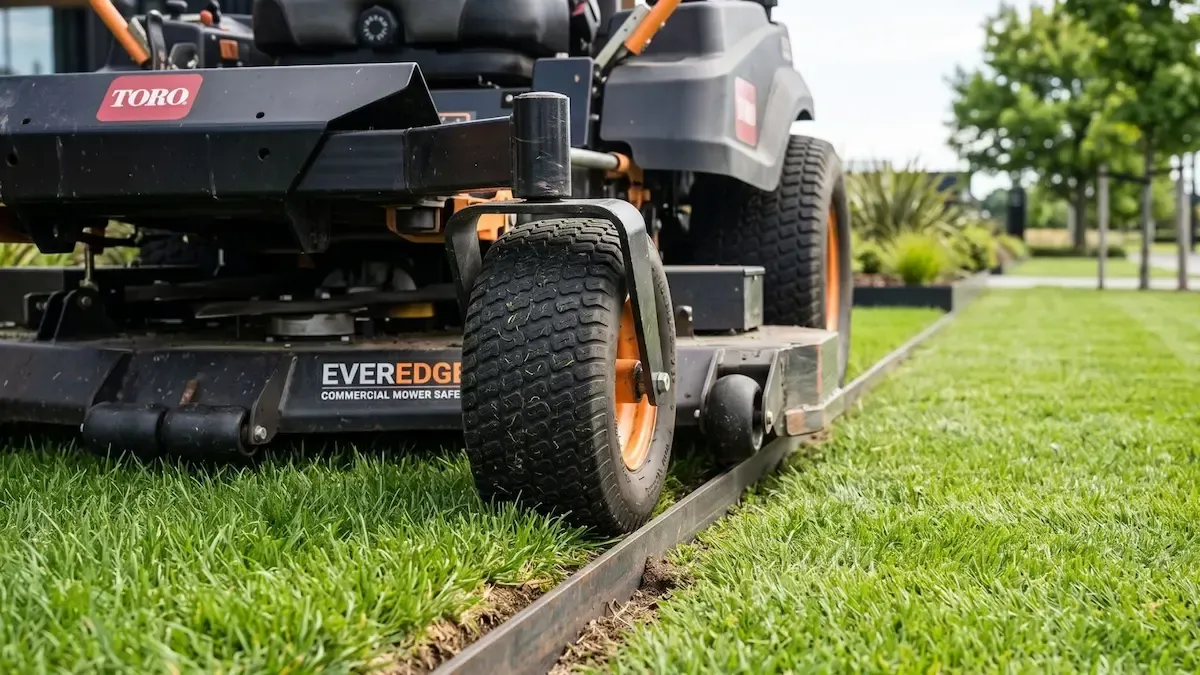
Lawn mower trimming grass along a straight edge beside a sidewalk
30 June 2026
Master your lawn care in winter. Discover how to protect your soil profile, manage damp mowing, and establish permanent, mower-safe steel borders before spring.

Lush garden path leading to steps and a white pergola, with flower beds and a green lawn on both sides
19 May 2026
Explore sunken vs raised garden beds in NZ. Learn benefits, drainage, aesthetics, and choose the best landscape design for your outdoor space.

Child running through a shallow puddle on green grass, splashing water with bare feet
22 April 2026
Tired of a boggy lawn? Discover how to prevent soil erosion and improve garden drainage this winter with EverEdge steel edging. The definitive NZ guide.
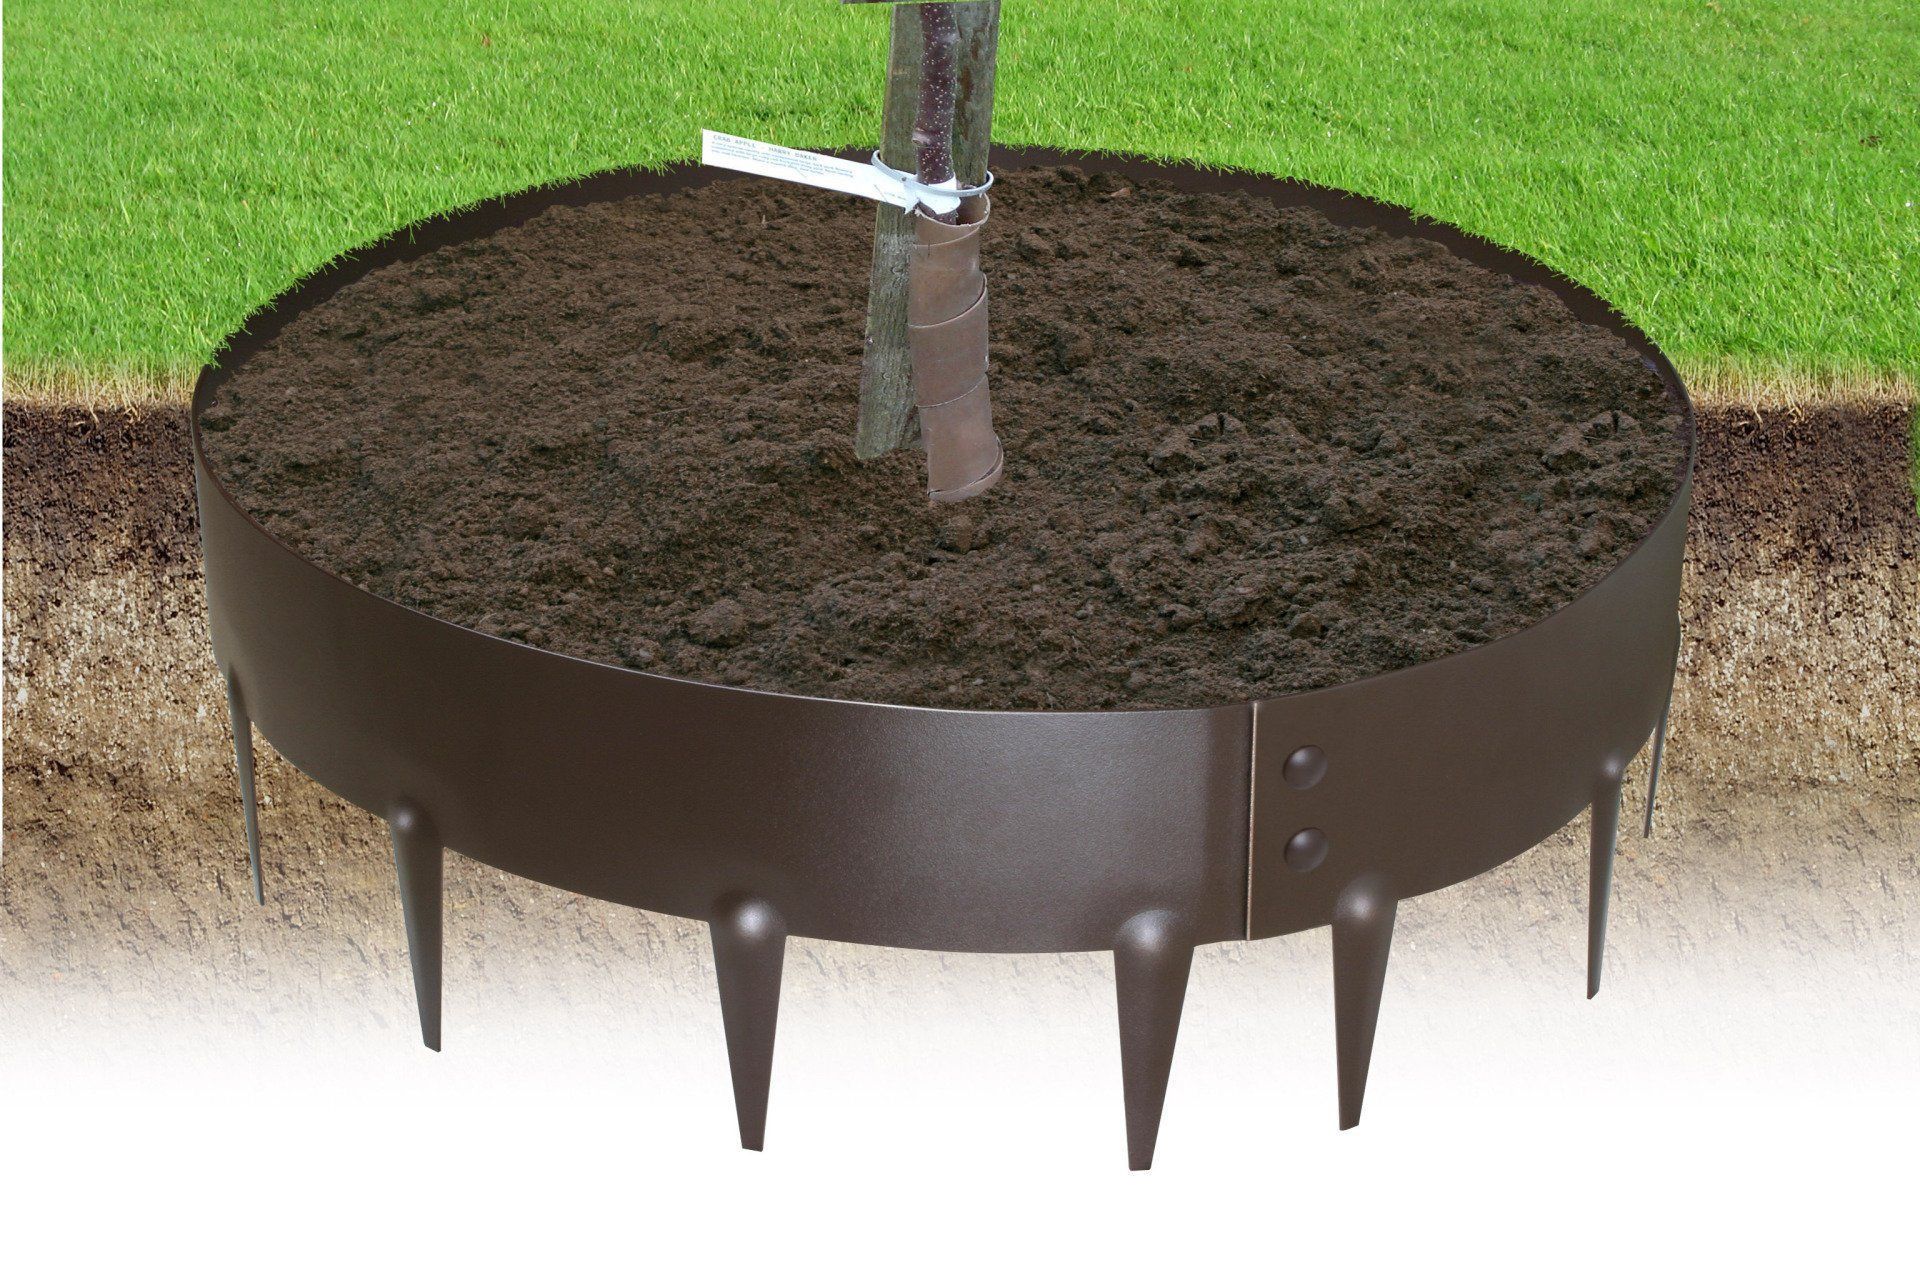
Cross-section of a circular soil planter with a central post and black legs supporting the bed
16 March 2026
Stop lawnmower damage and create a stunning landscape edge. Discover why EverEdge metal tree rings are the ultimate secret to healthy, thriving trees in NZ.
Person laying edging along a garden path beside a green lawn and flowers
18 February 2026
Avoid costly garden edging mistakes in NZ. Discover why timber rots, plastic warps, and how flexible steel edging creates permanent lawn borders.
Landscaped garden bed with shrubs and flowers beside a green lawn near a house
21 January 2026
This complete NZ guide to Corten steel edging explains weathering steel, key benefits, applications, installation methods and maintenance requirements.
Show More